
Installation Tips
Below you'll find install tips for a standard decal. Be sure to check back as we plan to add a couple installation videos.

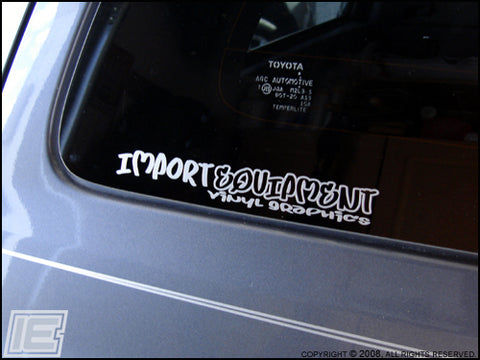
Above: This is what you can expect with a typical sticker from ImportEquipment.

1. Inspect Sticker. Please make sure this is the style & color of sticker you ordered before installing. Now is the time to clean the surface you plan to apply the sticker to (if needed). Do not use an ammonia/alcohol based cleaner. For best results, just use a rag and warm water.

2. Flip the sticker over (face down). Slowly peel off paper backing.
If the sticker is not coming off the paper backing, lay the backing back down and rub on the backing.
This will push the sticker against the application tape. Now try to peel off the paper backing again.

3. This is how the sticker should look with paper backing partially removed. Once removed, you are ready to install.

4. Apply to the surface of your choice.

5. Use an applicator (an old credit card or pot scrubber works great) to rub over the sticker.
This will make the sticker stick to the surface.

6. Slowly peel the application tape off of the sticker. The trick here is to do this slowly and as closely to the surface as possible.
6a. In the rare event that you have an air bubble, take an exact-o knife, razor blade, or needle and pop the air bubble.
6b. Then use your applicator to squeeze the air out of the bubble. Use caution on the amount of pressure you use, as you do not want to scratch the surface of your new sticker.
7. Ta-da!!! Sit back and enjoy your new sticker.